Sunday, July 27, 2014

Start-to-Finish Sunday #40 - Stamped Muslin Bag

Here's a project I made for my sister-in-law's birthday a few weeks back. I had found this adorable personalized wine bottle coozie online months ago, and I wanted to put a little something with it - besides a bottle of wine, of course! :) And I wanted to make some custom packaging to match perfectly.


Cute, right? The colors don't match perfectly, but it still coordinates great! I love these Mini Muslin Bags that Stampin' Up! sells now. They're so cute and so versatile. And they're made of a great fabric that's perfect for stamping on. Want some tips? Check out my video below, or over on my YouTube channel.


Happy Stampin'! :)

Sunday, July 20, 2014

Start-to-Finish Sunday #39 - Tab Slider Card

Boy, do I have a fun card to share with you today! I made this card a while back, and immediately decided it just needed a video to go along with it. I finally got around to filming it today and I'm so excited to share! So, here it is...


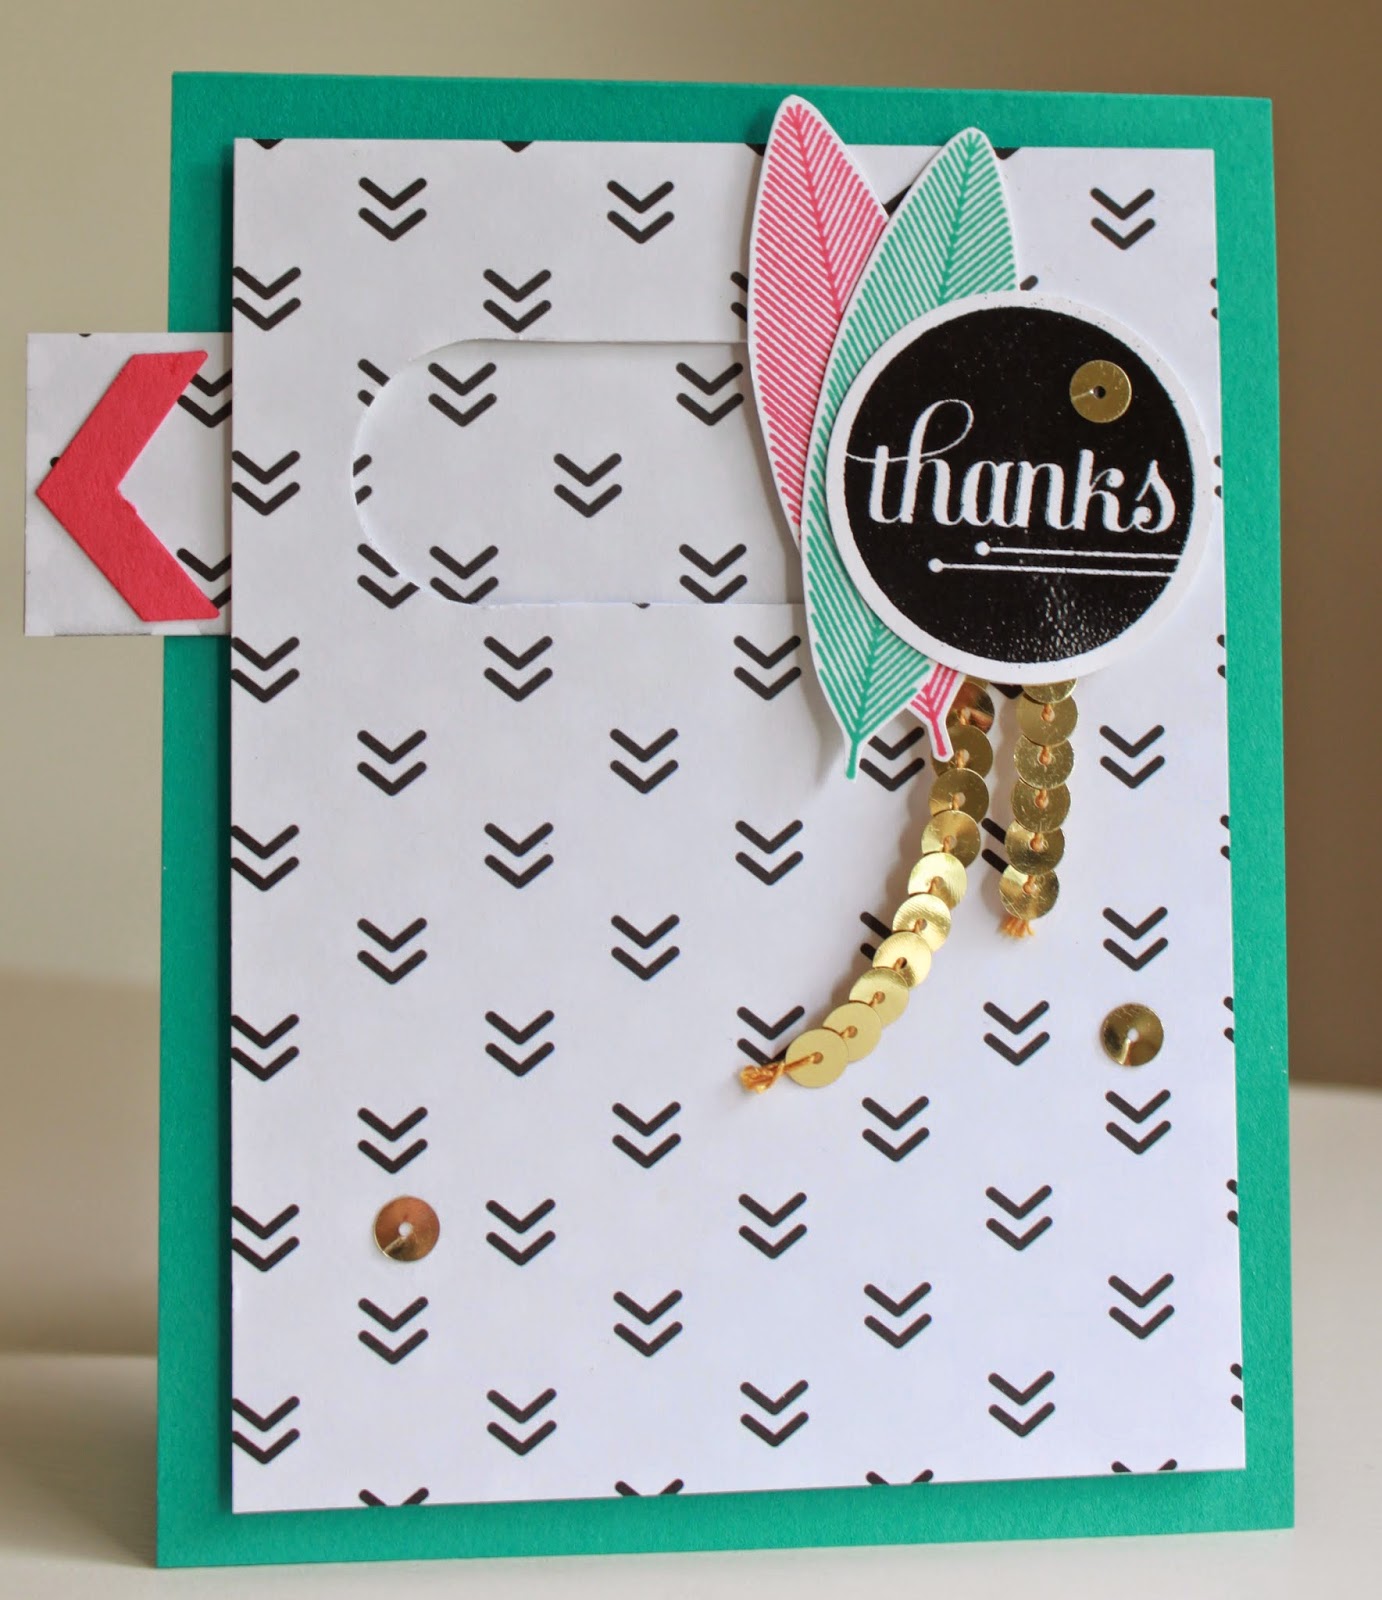
OK, I know, doesn't look like much, right? But hold on! See that little tab with the arrow on it? That's the interactive part. Check out what happens when you pull that tab.


Aah! I love it! :) The little octopus moves aside to reveal a hidden extra sentiment. Adorbs. And it's so easy to make! I promise!

For this card I used my current favorites again... The Sea Street stamp set and Maritime DSP. The sentiments are from Something To Say, which has some really awesome two-part sentiments.

So check out the video to see how to make this great slider mechanism on your cards! You can watch it below, or on my YouTube channel.


Here's a sneak peek of the card I make in the video. It's a little more grown-up and sophisticated, but just as fun! (This one uses A Happy Hooray for the embellishment and the Back to Black DSP. And hey! - Don't forget that select DSP is Buy 3 Get 1 FREE until the end of July!)


One thing to note: because of the tab, these cards will not fit in a standard A2 sized envelope. But don't forget - you can make an envelope that coordinates beautifully with your card project in practically any size using the Envelope Punch Board. This thing is a workhorse! And one of my favorite products that Stampin' Up! offers.

Please let me know if you have any questions about these cards. I hope you have fun making your own slider cards!

Happy Stampin'! :)

Monday, July 7, 2014

CCC#038: July Cards Challenge - Green Planet


CCC#037: July 2014 Cards Challenge
Green Planet
Inspired by Earth

OK, friends, this month's challenge is to make a card inspired by planet Earth. Now I'll admit, this one really had me stumped for a while. I kept pouring over my stamp collection thinking... What direction do I want to go with this? Maps? Blue and green? When I couldn't make up my mind, and no stamps were jumping out at me, I decided this challenge called for one thing: Custom made stamps! :)


Isn't it amazing that we can carve our own stamps now?! Stampin' Up! just thinks of everything! I've done my fair share of linoleum block printing in my life, but the Undefined stamp carving kit has sat on my shelf for almost a year now (it was introduced at Convention last year, remember?) and I could never decide what I wanted to make with it. So glad I still had it there ready and waiting when I decided what to do for this project!


I decided to do my stamping on this paper from the Typeset DSP collection, because it looks like newspaper and, to me, that fits with the recycling part of the message. I kept the rest of the card very simple - a simple spiral border, linen thread, and I sponged the card base using the polka dots stencil from the new Dots and Stripes Decorative Masks.

As I was stamping these images, I was thinking about how nice they'd look just on a simple one-layer notecard. So I decided to give that a try too! But of course, I couldn't just leave it at that... :)


I ended up cutting about an inch off the bottom of the card, and then I adhered the DSP to the inside so it peeks out the bottom. And I also added some white bakers' twine.


I hope you enjoyed these cards and that you're excited to give the Undefined stamp carving kit a try! Let me tell you, this kit is amazing! Like I said, I've done linoleum blocks before with the hard linoleum and the soft flexible kind. The rubber in the Undefined kit blows them both out of the water! It cuts like buttah! I highly recommend you give it a try! :)


(P.S. These aren't the blocks that come in the kit for you to mount your stamps on - but there are 4 blocks that are included. My dad made these for me because my stamps happened to be a little too big for the small blocks and too small for the large block.)

Head on over to Cathy and Catherine Create to check out the other DT members' cards. And don't forget to link up your card if you play along with the challenge - you could win an awesome prize!

Happy Stampin'! :)


Tuesday, July 1, 2014

CCC#037: July 2014 Challenge - National Pride

CCC#037: July 2014 Monthly Challenge
National Pride

This month's challenge from Catherine and Cathy Create is to make any project inspired by your country's national colors. A lot of us are celebrating Canada Day and the 4th of July, so this is perfect timing! Though, I have to say this one wasn't much of a challenge for me since 95% of my recent projects have been red, white, and blue! :-D

So as I told you before, I've been completely addicted to the Sea Street stamp set and matching Maritime DSP collection... which just happens to be red, white, and blue! What I love about the Sea Street set is that it's so much more versatile than it may appear at first glance. Sure, there are cutesy smiling sea creatures that are probably most appropriate for projects for kids. But the other images in the set are perfect for creating a totally on-trend and very sophisticated preppy nautical look. That was what inspired my project for this challenge.


I decided to put together a complete stationery set with everything you need to send adorable notes right in one box. Since I used the preppy nautical theme, this set is very grown-up, but would also be completely appropriate for a child off to sleep-away camp. :)


I used Stampin' Up!'s white notecards and envelopes to quickly and easily create a set of 6 clean and simple notecards. I stamped the anchor and rope images from Sea Street and the hello sentiment from A Dozen Thoughts in Real Red, Coastal Cabana, and Night of Navy inks.


The notecards come come with envelopes, but I wanted to dress up the cards a little so I made my own envelopes out of the Maritime DSP and the envelope punch board. Quick, easy, and cute!


Since the DSP envelopes don't have any sealer on them, I thought it would be nice to stick some coordinating stickers into the kit. These are just some white yardsale price stickers I had hanging around, but the anchor stamp fits perfectly on them! I also found some large mailing label stickers, white I decide to cut in half and stamp to coordinate too. (The "to" stamp is from an old Christmas set, by the way.)


Here's what it looks like when the whole set is put together. So cute and so sophisticated! I stamped on the label (with a retired alpha set - sorry!) but you could just as easily hand write your recipient's name. Or you could write a whole address on the label - it's big enough - and you could actually put this through the mail! (I'd seal the envelope up with more than just the little sticker if I was going to mail it.)

I did include a coordinating pen, because I wanted the kit to have everything you'd need to write and send a note. I wanted to put a piece of DSP inside the clear barrel of the pen, but this particular pen is just too skinny, and I couldn't find the mini version of the Pentel R.S.V.P. pens that work so well for this. Oh well, the pen still matches all by itself!

So that's it for me! Hope you enjoyed this project and you've been inspired to play along with this challenge and make a project with your country's national colors? Are they the same as mine? :) If you do make a project, make sure you link it up on Catherine and Cathy Create - and while you're there, check out the other DT members' projects.

Happy Stampin'! :)