Tuesday, August 10, 2010

thinking ahead a little...

My August Studio Calico kit arrived on Friday. The kit is called Summer Camp and I'd seen the contents on their website, so I knew what to expect when the box came, but as soon as I saw all the papers in person, my first thought was FALL! Unconventional fall, but fall nonetheless :) I LOVE the My Mind's Eye So Sophie collection papers - they included 3 or 4 of them and they're all awesome. And the Sassafras Paper Whimsies flowers remind me of marigolds and mums! So cute. So I decided to make some - again non-traditional - Thanksgiving cards.


AND, the kit included my favorite font of AC letter Thickers! I have them in green fabric too and they're the perfect size for cards. Except I noticed when I was using these foam ones that there are only 5 T's! And they included more than 5 Z's! Whose brilliant idea was that? :) Oh well, I can always get more!

Yesterday the mailman brought me some items from Kaisercraft's new Christmas collections. I'm not quite sure how I ended up with them... to the best of my knowledge they're not available anywhere yet, but then I came across them shipping immediately from one of my favorite ebay sellers. So I might have bootleg CHA sample copies in my office, but I'm not complaining!

So, I got portions of their 2 Christmas collections. They're both vintage-inspired and a little distressed, but between the two collections they hit a really nice range of options...

Be Merry is more brightly colored, more graphic, and more whimsical.
(I got the 6x6 pad, the chipboard, the rub ons, and the stamps.)

Tis the Season is very vintage-traditional with deeper colors and lots of damask.
(I got the 6x6 pad and the stamps.)

I'm impressed with the 6x6 pads, although quality-wise they're not my favorites. What I do really love about them, though, is they have papers with flocking, glitter, varnish, and foil. There are also 3 or 4 sheets of small die cut shapes in the back of the pad. I've never seen this before and I love it! The stamps are decent, though again not my faves. I had a hard time getting one of them to stamp with even, complete coverage when I was using my Memento ink. But I don't stamp all that much, and I'm really not familiar with the different types of ink and their ideal uses, so it may just be something I'm doing wrong! :)

Here's what I've made so far...


Look at that damask pattern with Santa in it! So clever! It's hard to tell in this photo, but I actually did emboss resist with snowflakes over the text paper. It's very subtle, very low-contrast, but I like how it turned out with the variation in beige colors.

Thanks for stopping by!

Thursday, July 29, 2010

more origami wreaths

I was thinking about trying to do my own photo tutorial, but I figured it'd be nicer (and easier, haha!) to just share with you the youtube tutorial that I learned the project from. This is from shaleesdiner.


And a couple tips and tricks I've discovered:
     1. DO use a bone folder... And crease every fold well!
     2. When you fold an edge up to another edge or fold, leave yourself a little room. Don't fold it up so it's touching the other edge/fold, because you're going to have to fold a lot of layers together and you need the wiggle room.
     3. I think I've figured out a good way to glue the pieces together. I've been using my Tombow Mono Multi glue, mostly because it's tip fits in between the pieces and the Elmer's tip does not :) But you go through a lot of glue per piece, and the Tombow glue isn't cheap, so I'm going to try to find another type of glue with a pointy applicator tip. I glue in between the points in each of the little "pockets" and underneath (in the center) between the pieces. You just want to make sure your squirt of glue is large enough that it touches both pieces of paper. If you use glue that dries clear it will be visible, but only if you're looking for it. So here's my best attempt at photographing where I like to glue the wreath together (L - top view, R - bottom view)...
     4. I like to use 12 folded pieces for my wreath. I really like the size it creates... large enough to stand alone, but still small enough to hang on a Christmas tree. Although obviously you can make it slightly smaller or larger depending on how tightly you join the pieces.
      5. So far I prefer one-sided papers for this project, just because they're a little thinner and easier to fold. 6x6 or 8x8 paper pads are great for this project because you can get 2 pieces per sheet of paper. HOWEVER, if you want 12 pieces or more, you're going to end up using a good chunk of your paper pad!

So here's what I've been doing so far...

(Sassafras, October Afternoon, Girl's Paperie)

(Cosmo Cricket's DeLovely, and my wash yard)

And here's an idea I'm totally loving right now... Using materials that are not, strictly speaking, Christmas related to make Christmas projects. These two wreaths were made from Cosmo Cricket collections: Material Girl and Garden Variety respectively.

(with Prima E Line flowers)

(with Jenni Bowlin and Basic Grey buttons)

Here's a closer shot of the first one I made... You can see how it doesn't look any different from the others... That's because there really is no learning curve with this project. You won't have to waste supplies and time trying to figure it out!

(Echo Park Paper Co.)

Have fun!

I made it to CHA after all!

... And with the Cosmo Cricket team to boot!

:)

(And, if I'd remembered that Cosmo Cricket had this adorable idea to take all their facebook fans along "in spirit," I probably wouldn't have made that photo my profile pic! Haha!)


Wednesday, July 28, 2010

introducing my newest obsession

... the origami paper wreath!

I'm still in love with the Memory Keeper photo envelopes that I showed you earlier this week, but this afternoon I ran out of tape runner. The nearest craft store is 30 miles away and I literally have $3 until Friday! Soo... sadly, there will not be much paper crafting for me in the next 2 days :(

I recently found a tutorial for an origami paper wreath. Like the Memory Keeper, it's so super simple and the results are so striking that you'd never guess how little effort it takes. I've made a bunch of them just since last night... It's so fun picking out combinations of patterned papers and they're really super cute whether you embellish them or not. Here's a large wreath that I made with Cosmo Cricket's Material Girl line, and I embellished it a lot :)


OK, so the letters are a little bit wonky and it kinda bugs me. But, as I keep telling myself (especially when the layers on my Memory Boxes aren't perfectly centered!), I'm really hard on myself and I need to remember that I am a human being making these items by hand without any help from machines. Other people don't even notice what drives me crazy and I need to always be proud of what I create.

I'll be back later with a tutorial and some tips I'm discovering as I make these wreaths. Hopefully I'll also have taken some pics of the other wreaths I've made!

Thanks for visiting!


Monday, July 26, 2010

ok, make that my CHA {top 7}

;)

Can't wait for these from The Girl's Paperie!!

Toil and Trouble


Tinsel and Twig

I got invited to do my first craft fair today! But it's in August and I just can't afford (time or money!) to get myself ready for a fair in a month. But the woman who's running it is also running another one in December and I'm shooting for that one. So I'm psyched that I have a legit reason to be itching to get my hands on Christmas product in July :) My hubby always likes to compare me to Veruca Salt, but I can't help it... I WAN'T IT NOW!! :)


memory box project

Heads up folks - This is a GREAT project! Couldn't be simpler and you get such striking results! You gotta give this one a try!


This is the Memory Box project from StampTV. The idea is that you can use the little cardstock box as a storage option for photos you want to scrap, or it can be a permanent "album" to store photos from an event or a period of time. (P.S. "Mes voyages" means "my travels" in French.)

Here's another one I made for Christmas photos:

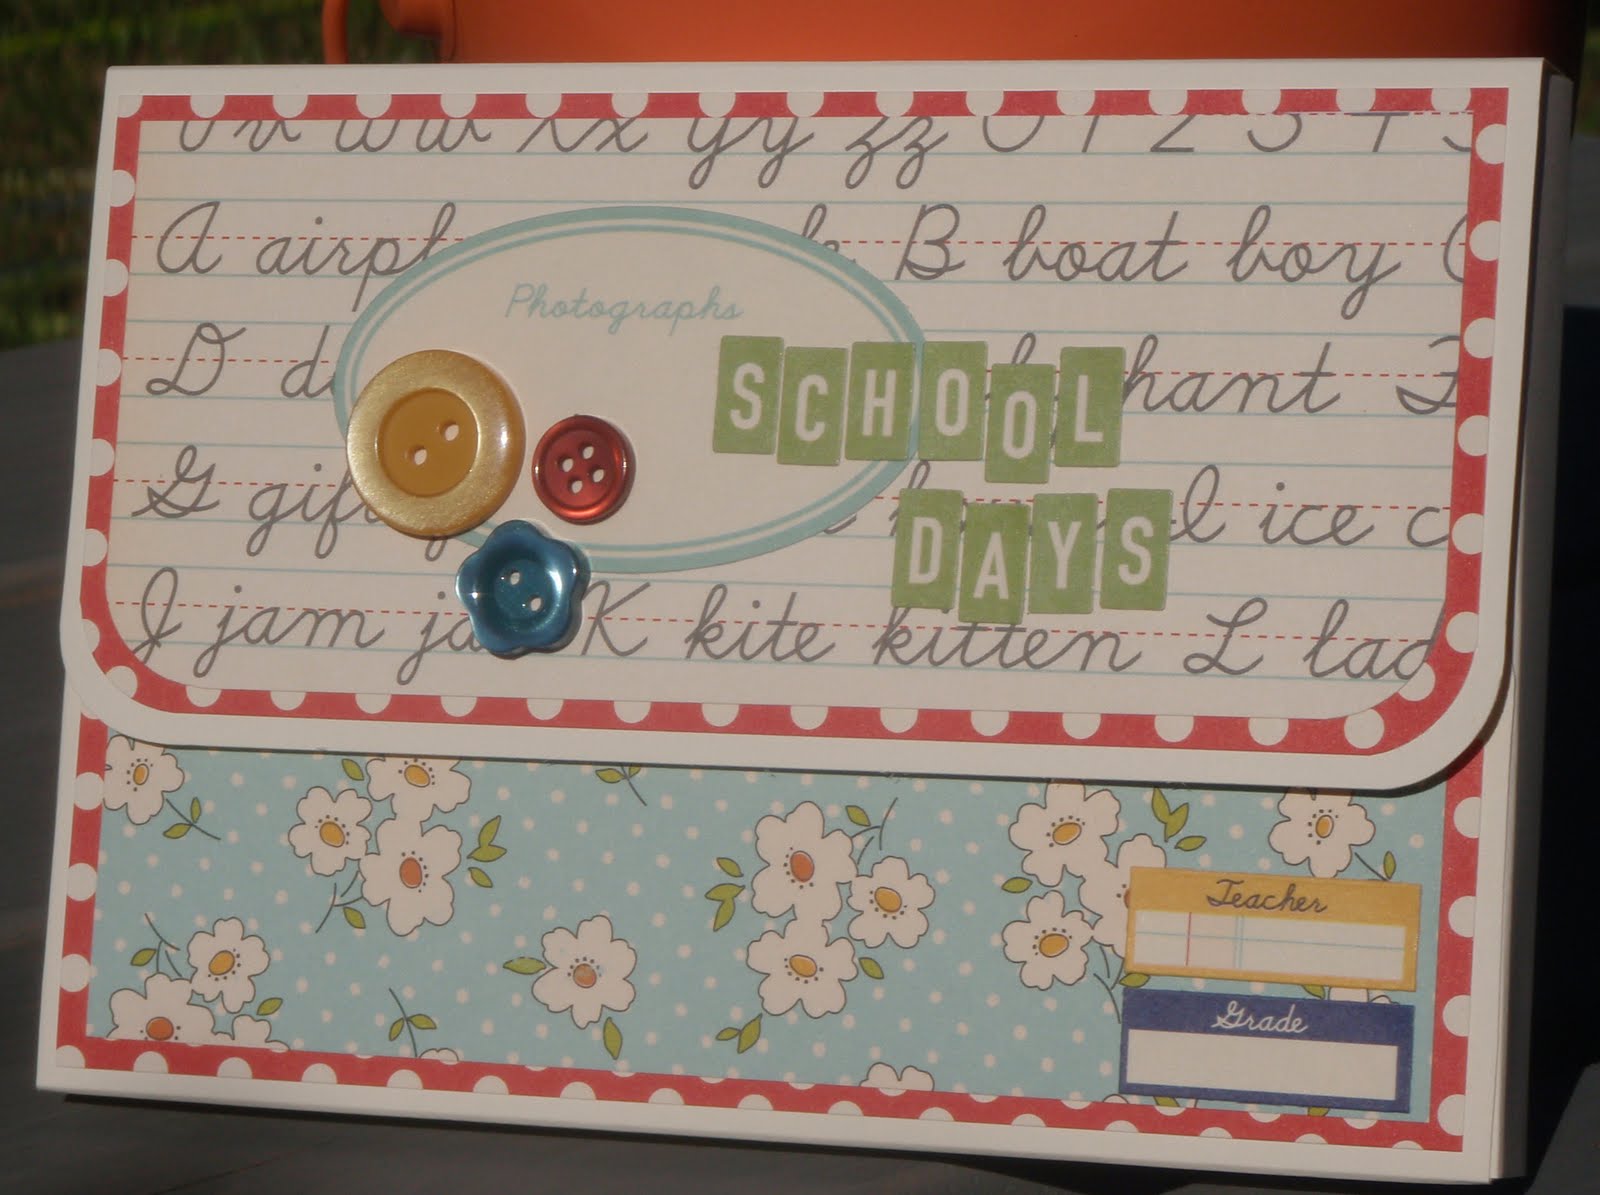
And two for school photos (this was my lightbulb moment... in my opinion this project is perfect for storing favorite photos by school year!):

You will really not believe how easy it is to make these. I made all four of the projects above over the course of one day - really in a matter of a few hours. Once you've got all the pieces cut it literally takes minutes! All you need is one sheet of 8.5 x 11 cardstock (I'm finding that heavier is better, though adding the layers of paper help to stabilize the box), the scoring template (found here listed under "Memory Keeper Template"), some patterned paper and/or solid paper/cardstock (any weight is fine for the two layering pieces), some tape runner, some super sticky tape (Scor-Tape or, as I used, Therm-o-Web Super Tape), and a scoring board. And then, of course, whatever embellishments you want :)

First step:
Cut all your pieces of layering paper.
Layer 1 (I used solid colored cardstock):
1 @ 6.25" x 2.75"
1 @ 6.25" x 4.25"
1 @ 6.25" x 2.25"
Layer 2 (I used patterned paper)
1 @ 6" x 2.5"
1 @  6" x 4"
1 @ 6" x 2"

Second step:
Score 8.5x11 cardstock according to template. Adhere layers together and then to the box. Fold on score lines.

Third step:
Assemble box with super sticky tape.

Fourth step:
Determine a closure. I used a small bit of adhesive magnet on one and ribbon on the other.

Check out the videos below for more detailed directions of how to assemble the box.


Sunday, July 25, 2010

Gina K. Designs Blog Hop

Here's another StampTV inspired card for Gina K. Designs Design Team Blog Hop. This card is about as simple as it gets, but I like how it turned out.

I used a couple StampTV videos as inspiration for these: Adding a Button to a Bow, and the way Gina makes the focal embellishment for her Journal and Pen Set.


Supplies:
Cardstock: Gina K. Designs (from Pure Luxury Holiday Assortment)
Stamp: Blessed is the Season by Gina K. Designs
Inks: Colorbox Chalk in Chestnut Roan, Distress Ink in Vintage Linen
Misc: twill tape, baker's twine, button, Nestabilities Labels 8, Spellbinders Wizard

Thanks for looking! :)


Are you sick of Christmas yet? :)

I'm still goin' strong with these clean and simple Christmas cards! I had fun yesterday and today watching Christmas in July on QVC (my guilty pleasure!) and crafting away. If you haven't figured out yet, I have a tendency to find something I really like and roll with it... variations on a theme if you will. You still get the satisfaction and emotional therapy of creating, but by taking the same basic design and just changing a couple little details, you don't have to put a ton of thought into your project. Plus, my desk is a mess and it's so much easier to just keep using what's in front of me than it is to clean up :)

This one was inspired by that candy cane stripe paper, which I got last year at Paper Source. Love it!

And here's the variation... more patterned paper, a little twine, and some Frosted Lace Stickles on the stocking. Easy peasy.

The next two cards are the first I've made with the pine green cardstock from the Gina K. assortment. It's got a nice texture to it that I like, and a good weight for layering and holding up as a card base. The color is a little on the peacock side for my preferences, but it's nice. I used a couple StampTV videos as inspiration for these: Adding a Button to a Bow, and the way Gina makes the focal embellishment for her Journal and Pen Set.

 I made both tree embellishments using the ivory cardstock and Antique Linen Distress Ink.


Making these cards has been an interesting experience for me. I don't actually do a lot of stamping in my cards, and I'm discovering I'm really not that good at it! :) Pretty much every card I've made I've had to remake at least one piece a couple times because of smudging or my Stamp-A-Ma-Jig slips or something like that! Creating a card with nothing but stamps, ink, solid-colored cardstock, and adhesive is actually a lot harder than it looks! :)


Saturday, July 24, 2010

I {heart} HANSON!

The Hanson concert tonight was amazing! We had SO much fun :)

The girl in front of me had a new Canon Cybershot camera with 10x zoom (the smaller point-and-shoot kind) and she got amazing close-up, crisp, clear photos no matter what the stage lighting was. Jealous! But after trying to take a decent photo on my little Olympus Stylus - which I love, don't get me wrong, but it doesn't do indoors or dark very well - I realized the important thing was not to be able to prove later on that I had been there, but to enjoy being there. And what a great show it was!

BUT, I did shoot a super fast, not very good quality at all video of quite possibly my favorite Hanson song of all time :) Sorry it's so jumpy - I was rockin' out!


Friday, July 23, 2010

Gina K. Designs - Design Team Blog Hop


The winner of this Blog Hop will be the guest DT member for the August release! I'm so new to StampTV that I'm sure my chances are teeny-tiny, but it's fun to participate anyway! :)

The challenge is to create a card inspired by a StampTV video. I chose the Reverse Nestabilities technique video, and I used my very first (of many I'm sure!) Gina K. Designs stamp set: Blessed is the Season.


Supplies:
Stamps: Blessed is the Season by Gina K. Designs
Cardstock: Pure Luxury Holiday Assortment by Gina K. Designs
Buttons: Pink Paislee (cork), Creative Cafe (red)
Ink: Colorbox Chalk in Chestnut Roan
Misc: Stickles (Frosted Lace), baker's twine, Nestabilities Labels 8, Spellbinders Wizard

Thanks for stopping by my blog!