


This is the Memory Box project from StampTV. The idea is that you can use the little cardstock box as a storage option for photos you want to scrap, or it can be a permanent "album" to store photos from an event or a period of time. (P.S. "Mes voyages" means "my travels" in French.)
Here's another one I made for Christmas photos:

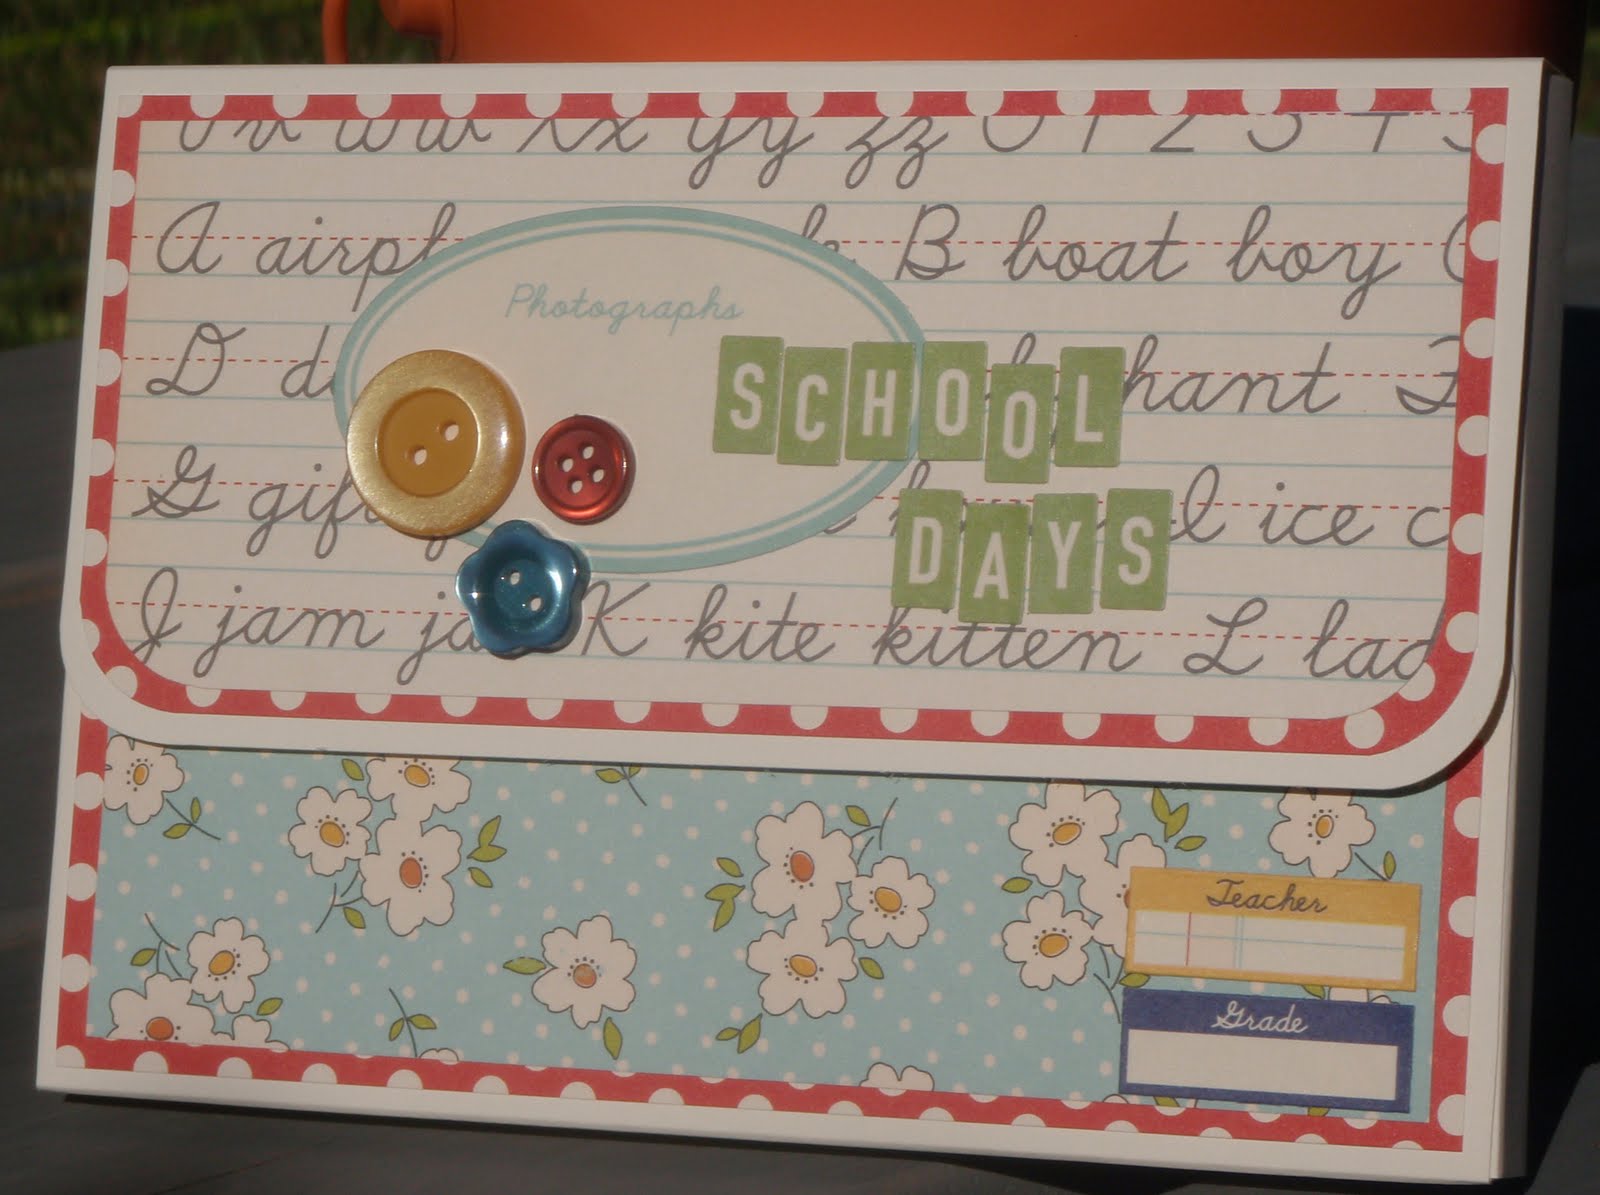
And two for school photos (this was my lightbulb moment... in my opinion this project is perfect for storing favorite photos by school year!):

You will really not believe how easy it is to make these. I made all four of the projects above over the course of one day - really in a matter of a few hours. Once you've got all the pieces cut it literally takes minutes! All you need is one sheet of 8.5 x 11 cardstock (I'm finding that heavier is better, though adding the layers of paper help to stabilize the box), the scoring template (found here listed under "Memory Keeper Template"), some patterned paper and/or solid paper/cardstock (any weight is fine for the two layering pieces), some tape runner, some super sticky tape (Scor-Tape or, as I used, Therm-o-Web Super Tape), and a scoring board. And then, of course, whatever embellishments you want :)
First step:
Cut all your pieces of layering paper.
Layer 1 (I used solid colored cardstock):
1 @ 6.25" x 2.75"
1 @ 6.25" x 4.25"
1 @ 6.25" x 2.25"
Layer 2 (I used patterned paper)
1 @ 6" x 2.5"
1 @ 6" x 4"
1 @ 6" x 2"
Second step:
Score 8.5x11 cardstock according to template. Adhere layers together and then to the box. Fold on score lines.
Third step:
Assemble box with super sticky tape.
Fourth step:
Determine a closure. I used a small bit of adhesive magnet on one and ribbon on the other.
Check out the videos below for more detailed directions of how to assemble the box.

No comments:
Post a Comment