Showing posts with label gifts. Show all posts

Saturday, November 1, 2014

CCC#049: November Challenge - Thankful for Fall

CCC#049
November 2014 Monthly Challenge
Thankful for Fall

This month's challenge from Catherine and Cathy Create is all about autumn! Leaves, sweaters, pumpkin spice, boots, Thanksgiving... whatever inspires you about fall, we want to see it! :)

I have a crazy-simple project for you this month, but I totally love it. I gotta say (and I know I say this every month but...) this last month really got away from me! And I'm so bummed, because October is my favorite month of the entire year and I feel like I missed it! I have been so busy lately, and I know I'm not the only one, and I know it's just going to get worse with the holidays approaching so quickly. I usually feel like I have to pull out all the stops on any projects I share here on the old blog-o, like I really have to turn up the "wow factor." But today I'm proud to be sharing literally a 10-minute project, because I know it's something we can all use around this time of year! :)


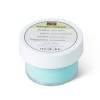
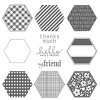
I decided to dress up one of Stampin' Up!'s great new Kraft Grid Journals. This could be a great little gratitude journal, or just a cute notebook with a great message to just throw in your purse to use for everyday lists and notes! And because I only used two stamp sets, it literally takes no time at all! :) I used one of my favorite sets from the Holiday Catalog for most of the stamping, so really, you only need one stamp set to make an adorable little journal. The set is called For All Things. I also used Gorgeous Grunge to add a little extra interest to the background.


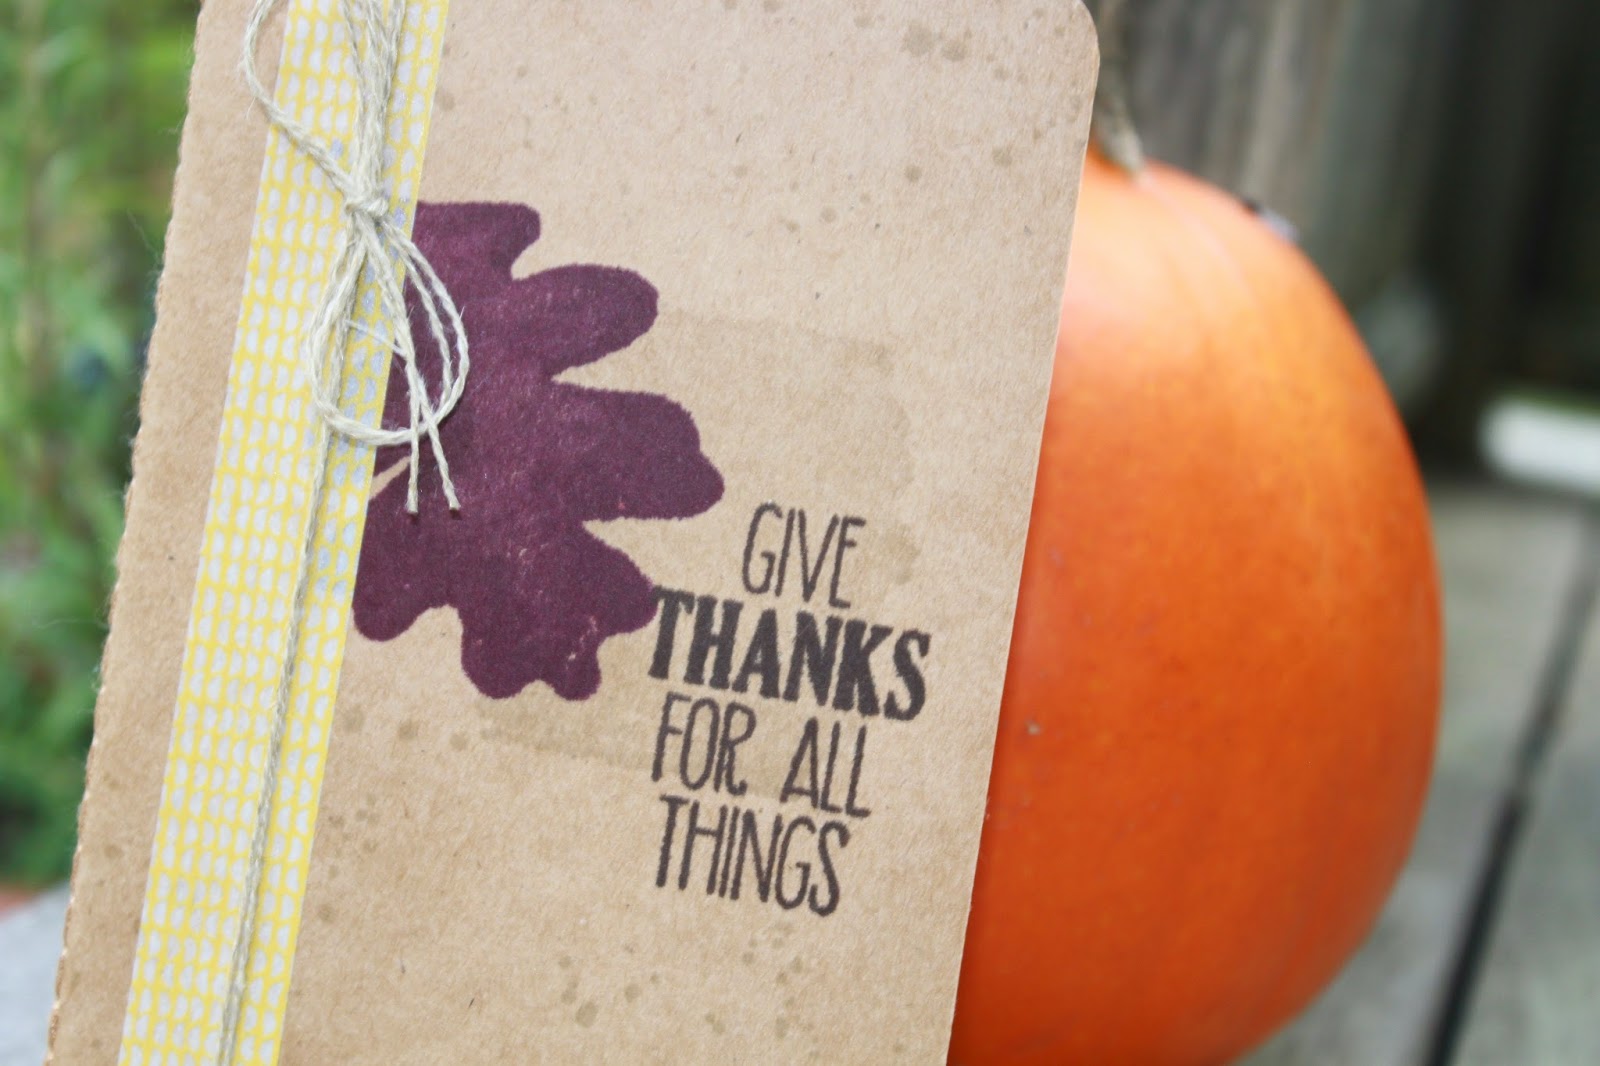
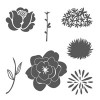
One thing to keep in mind when stamping on these kraft journals... They seem to be more absorbent than regular cardstock. So don't press your stamps too hard, and expect that the images will lose a little of their definition. The stamp set I chose for my project - For All Things - is great for this because the images are designed to look sort of watercolor-y, but you do lose a lot of the great texture of the images.

So that's it for me for today. I hope you liked this super cute and quick project, and I encourage you to head on over to Catherine and Cathy Create to check out the other projects, and to play along!

Happy Stampin'! :)

Tuesday, July 1, 2014

CCC#037: July 2014 Challenge - National Pride

CCC#037: July 2014 Monthly Challenge
National Pride

This month's challenge from Catherine and Cathy Create is to make any project inspired by your country's national colors. A lot of us are celebrating Canada Day and the 4th of July, so this is perfect timing! Though, I have to say this one wasn't much of a challenge for me since 95% of my recent projects have been red, white, and blue! :-D

So as I told you before, I've been completely addicted to the Sea Street stamp set and matching Maritime DSP collection... which just happens to be red, white, and blue! What I love about the Sea Street set is that it's so much more versatile than it may appear at first glance. Sure, there are cutesy smiling sea creatures that are probably most appropriate for projects for kids. But the other images in the set are perfect for creating a totally on-trend and very sophisticated preppy nautical look. That was what inspired my project for this challenge.


I decided to put together a complete stationery set with everything you need to send adorable notes right in one box. Since I used the preppy nautical theme, this set is very grown-up, but would also be completely appropriate for a child off to sleep-away camp. :)


I used Stampin' Up!'s white notecards and envelopes to quickly and easily create a set of 6 clean and simple notecards. I stamped the anchor and rope images from Sea Street and the hello sentiment from A Dozen Thoughts in Real Red, Coastal Cabana, and Night of Navy inks.


The notecards come come with envelopes, but I wanted to dress up the cards a little so I made my own envelopes out of the Maritime DSP and the envelope punch board. Quick, easy, and cute!


Since the DSP envelopes don't have any sealer on them, I thought it would be nice to stick some coordinating stickers into the kit. These are just some white yardsale price stickers I had hanging around, but the anchor stamp fits perfectly on them! I also found some large mailing label stickers, white I decide to cut in half and stamp to coordinate too. (The "to" stamp is from an old Christmas set, by the way.)


Here's what it looks like when the whole set is put together. So cute and so sophisticated! I stamped on the label (with a retired alpha set - sorry!) but you could just as easily hand write your recipient's name. Or you could write a whole address on the label - it's big enough - and you could actually put this through the mail! (I'd seal the envelope up with more than just the little sticker if I was going to mail it.)

I did include a coordinating pen, because I wanted the kit to have everything you'd need to write and send a note. I wanted to put a piece of DSP inside the clear barrel of the pen, but this particular pen is just too skinny, and I couldn't find the mini version of the Pentel R.S.V.P. pens that work so well for this. Oh well, the pen still matches all by itself!

So that's it for me! Hope you enjoyed this project and you've been inspired to play along with this challenge and make a project with your country's national colors? Are they the same as mine? :) If you do make a project, make sure you link it up on Catherine and Cathy Create - and while you're there, check out the other DT members' projects.

Happy Stampin'! :)

Saturday, June 28, 2014

Sea Street Treat

Confession: I can NOT stop using the Sea Street stamp set and coordinating Maritime DSP!! They both make me so happy! :) So consider yourself warned... you can expect to see a lot of red, white, and blue and sea creatures around the old blog-o!

I needed to make some swaps for our monthly Stampin' Up! team meeting recently. There was no theme, so I could make whatever I wanted, and I just felt like doing something different, you know? I had been tossing around the idea of making some sort of nautical treat packaging for a while, so I decided to give it a go!


These little treats came out so cute and were SO easy to put together! You can easily change out the sentiment, too, and make them perfect party favors for a 4th of July picnic or a child's summer birthday party. 


For the treat itself I just threw some Swedish Fish into a cello bag, trimmed a little bit off the top, and folded it over. The topper is a piece of DSP that measures 4x4 inches, folded in half and stapled onto the top of the bag. (I used the embellishments to hide the staples, but you can see them from the back. If you don't like that, you could use Sticky Strip to adhere the paper to the front and the back of the bag.)


I stamped the octopus from Sea Street in Night of Navy on Whisper White cardstock. I used the Circle Framelits to cut it out, and to cut out a layer of Real Red cardstock. The sentiment is from A Dozen Thoughts (another set I can't stop using!), stamped in Real Red. Then I just added a thin strip of another pattern from the DSP collection, and... Done! :) A whole bunch of festive treats is no time flat!

Thanks for stopping by today. I hope you're having a great weekend!

Happy Stampin'! :) 

Thursday, May 1, 2014

CCC#031: May Challenge: Starlight, Star Bright


Welcome to the Catherine and Cathy Create monthly challenge for May 2014: Starlight, Star Bright. The challenge this month? Don't put a bird on it - Put a star on it! :)

I have a couple sets of cards that have been kicking around that I need to give to a few girls who missed a class that they had already paid for. So I decided to use this as a good reason to wrap them up all fancy-like. ;) Check it out...


I used my brayer to custom-color a piece of the rectangular Crêped Filter Paper with Strawberry Slush ink. Perfect coordination with my awesome emboss resist tag!


I used clear and white embossing powder over Coastal Cabana cardstock. The star stamp is from Perfect Pennants, by the way. Then I inked over the embossing with Night of Navy ink. Check out the video below for the how-to!  (You can also find the video on my YouTube channel, if you prefer.)


I'm trying to get out of my comfort zone a little and try out the layering trend that is all over the place lately! So I decided to busy things up a little with a splash of pink, a gold embossed monogram, and some little pieces of Sequin Trim and (retired) Coastal Cabana Ruffled Stretch Trim. (I just used a mini stapler to attach them to the tag.)

So, that's it from me! Go check out the other design team member's amazing projects on Catherine and Cathy Create! And don't forget - play along, link up your project, and you might win! :)

Oh yeah, and here's that video I promised you...


Happy Stampin'! :)

Tuesday, April 1, 2014

CCC #028: April Challenge - Fresh Beginnings Photo Challenge


Happy April! No foolin' - It's time for another Catherine and Cathy Create Monthly Challenge! :) This month we have a spring inspired photo challenge. It can be anything inspired by this photo...


As I've said in the past, I like to use the monthly group challenge to do something other than a card. So far, it's usually been some sort of 3D item, and this month is no different. Check out my take on the photo...


I decided to make a cute little treat pouch with a coordinating tag. I used one of the mini muslin bags (love these!) - I'd been wanting to try heat embossing on them for ages now!


I cut a square of cardboard to fit inside the bag so the ink wouldn't go through to the back side of the bag, and to help it lie flat. I used blue painter's tape to mask off stripes across the front of the bag, and then I generously pressed my Versamark pad all over the bag. I removed the tape quickly, then sprinkled Pool Party embossing powder over the whole thing. Then I just heat set it like normal! (Wait until you're completely done with the process before you remove the cardstock from inside the bag.) Eh voilà! An adorable striped muslin bag with great texture. I also replaced the plain drawstring with Primrose Petals ribbon to coordinate.


The tag is stamped with the Simple Stems stamp set. The sentiment is from Six Sided Sampler. I used a new-to-me technique - "the filter paper technique" - to get some great texture on the stamped image.  Here's a close-up of the tag.


Isn't that pretty? It sort of looks like the Mulberry Paper that Stampin' Up! used to sell. I'll be doing a video on this technique soon. :)

So that's it from me for today. Make sure you stop by Catherine and Cathy Create to check out all the inspiration from the Design Team... This is one not to be missed, trust me! :) If you're inspired to play along, make sure you link up your project because you might win some Stampin' Up! goodies! Enjoy the rest of your week.

Happy Stampin'! :)


Supply List

Saturday, February 1, 2014

CCC#022: February Challenge - Hearts A-Flutter


It's February! And this month's challenge over at Catherine and Cathy Create is Hearts A-Flutter… Anything and everything hearts and love! :)

If you haven't caught on to my pattern yet, I like do do a project that's not a card for the monthly challenge, since the card challenge is just a few days later. This month, with Valentine's Day around the corner, I thought that a cute little treat holder would be just the ticket!


I am IN LOVE with the new Tag Topper Punches in the Occasions Catalog! The one I used on this project is the Scalloped one - there's also an Angled style that creates more of a traditional shipping tag top. These things are genius! The opening is 2 inches wide, but there's no bottom, so you can make your tag any length you want. So. Many. Possibilities! :-D

To make the treat holder, I started with a piece of Real Red cardstock measuring 2x6.5 inches. Score it at 4 inches and 4.5 inches. Use two 1/8" silver brads to adhere the cardstock into a pocket with a 1/2" flat bottom. Then use the Tag Topper Punch to punch the top of the treat holder. This size is perfect for these mini Crunch bars. This would also work great with Pixie Stix, or lollipops, but you might have to adjust the length of your cardstock and where you score it.


I kept the embellishment simple and easy to mass-produce… Can you say classroom Valentine treat? ;) I used the Just Sayin' stamp set and matching Word Bubbles Framelits (available as a bundle at a 15% discount!) to create a fun little chalkboard-style sentiment. I embossed the sentiment in white on Basic Black cardstock, then used a sponge dauber to lightly smudge on some Whisper White Craft ink to achieve the trendy chalkboard look. A little ribbon, a shiny little pink heart (I covered it in Crystal Effects), and we're good to go!

If you like this idea, but don't need a Valentine's Day treat, here's another version I made with a nautical theme.


I think this would be so cute for a boy's birthday party. I used the new Hello Sailor stamp set for the greeting, and a fresh and fun nautical color scheme.

Now make sure you check out Catherine and Cathy Create to see what the other DT members made. You won't be disappointed! :) Link up your own hearts or Valentine themed project and you might just win some Stampin' Up! treats!

Happy Stampin'! :)


Tag Topper Punch Treat Holder Supplies